File:Extra parts carbine (18712082060).jpg
Original file (2,453 × 1,840 pixels, file size: 1 MB, MIME type: image/jpeg)
Captions
Captions
Summary
[edit].jpg&action=edit§ion=1)
| Description |
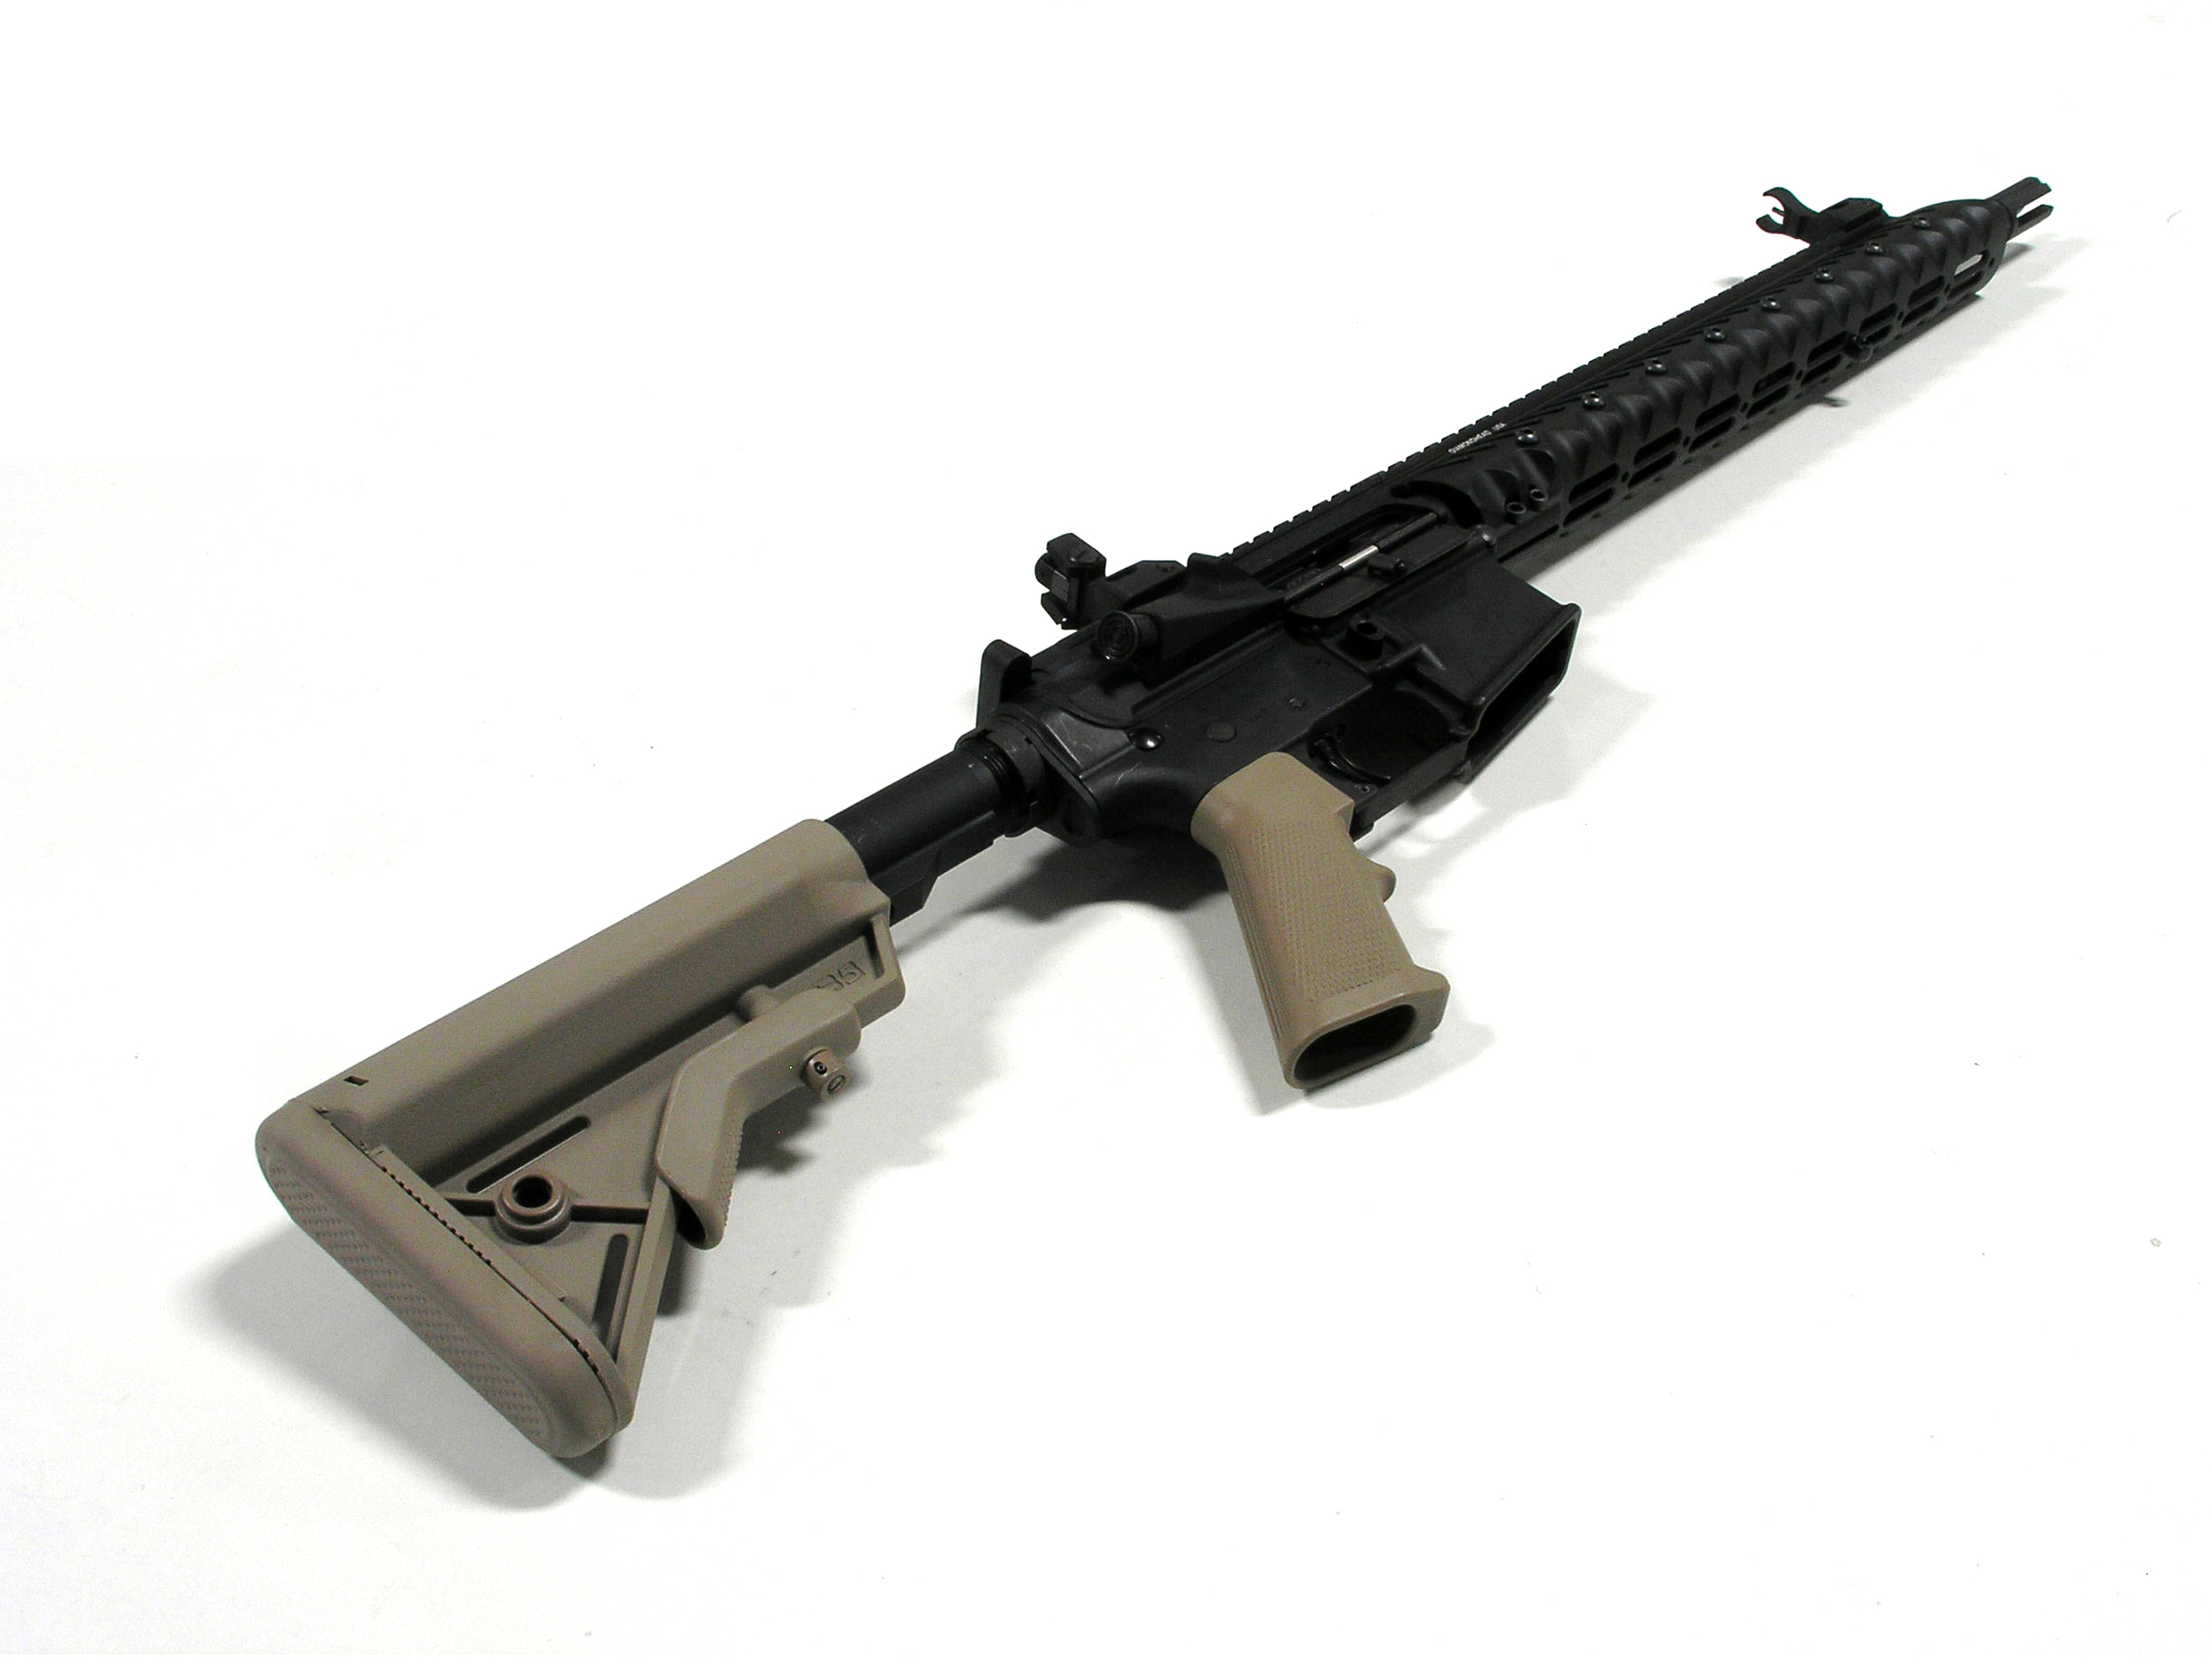
Rifle specs: o Stag Arms Stag-15 lower receiver o VLTOR upper receiver o AAC Blackout flash hider o B5 Systems Bravo SOPMOD stock o Diamondhead VRS T-556 13½ inch Free Floating Handguard o LWRC backup iron sights o PSA 16" M4 5.56 NATO 1/7 CMV CL MP Premium Barrel o Sadlak steel low profile gas block o BCM bolt carrier group o Weight: 7.16 lbs (without magazine) Quick and dirty rifle photo technique: I have an old Olympus digital camera at the office, maybe ten years old, set up on a tripod. I put the rifle on a table in the warehouse with a (dirty) white top where the light is best, then set up the camera with the tripod. I set it to aperture priority, and close the lens down as far as it will go (in this case, f 8), so even with low light I get crisp focus. You need the tripod because without flash it will be a long exposure. Then in Photoshop I use the white eyedropper in the Curves dialogue to white out the background. This cleans it up nicely, but also washes the entire image out a bit and you sometimes lose a lot of detail. Then I clean up all the marks and scratches on the table, and use Auto Levels to get the contrast and everything right. It sounds complicated, but it's actually quick and easy. Occasionally, if I am in a particular hurry, instead of relying on Curves to white out the background, I used the Magic Wand to select the background and delete it to white. That's why you can sometimes see the edges of the shadows so distinctly. It's actually a pretty poor practice and rarely gives a good result. So remember these simple steps: 1. Aperture priority; 2. Lens closed down as much as possible (f 8 in my case, but many cameras can go all the way down to f 22); 3. Tripod and timer; 4. Enlarge canvas so you have room to rotate if necessary and improve the crop; 5. White dropper in Curves dialogue; 6. Use the Selector to erase marks and scratches on the background and also to clean up background; 7. Auto Levels; 8. Crop. |
| Date | |
| Source | Extra parts carbine |
| Author | Mitch Barrie from Reno, NV, USA |
Licensing
[edit].jpg&action=edit§ion=2)
- You are free:
- to share – to copy, distribute and transmit the work
- to remix – to adapt the work
- Under the following conditions:
- attribution – You must give appropriate credit, provide a link to the license, and indicate if changes were made. You may do so in any reasonable manner, but not in any way that suggests the licensor endorses you or your use.
- share alike – If you remix, transform, or build upon the material, you must distribute your contributions under the same or compatible license as the original.
| This image was originally posted to Flickr by simonov at https://flickr.com/photos/26209464@N00/18712082060 (archive). It was reviewed on 27 February 2018 by FlickreviewR 2 and was confirmed to be licensed under the terms of the cc-by-sa-2.0. |
File history
Click on a date/time to view the file as it appeared at that time.
| Date/Time | Thumbnail | Dimensions | User | Comment | |
|---|---|---|---|---|---|
| current | 18:39, 27 February 2018 | | 2,453 × 1,840 (1 MB) | Victorgrigas (talk | contribs) | Transferred from Flickr via Flickr2Commons |
You cannot overwrite this file.
File usage on Commons
The following page uses this file:
File usage on other wikis
The following other wikis use this file:
- Usage on tr.wikipedia.org
- Usage on uk.wikipedia.org
.jpg&oldid=896936848)